
- First of all, you will need to login to the CMS using your username and password as provided by Vektar, if you are unsure how to do this then please get in touch at info@vektar.uk.
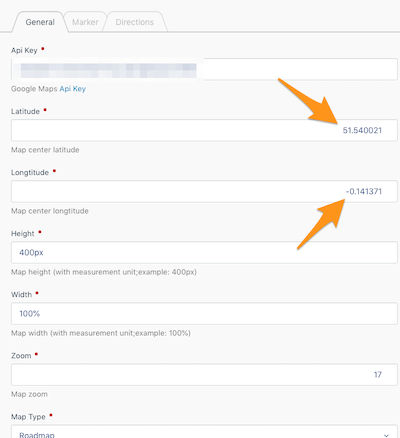
- Once logged in, navigate to Settings > Google Maps Settings. From this screen, you should see Latitude and Longitude, we shall be changing these values that are currently in there which we will be getting from Google Maps.

- Go to the following link: www.google.com/maps/. In the search field, type in the address that you would like to display on your website, in our example, we'll be using London as our address.
- A small red marker will then be dropped onto the map, right click on this then click on 'What's here?'.
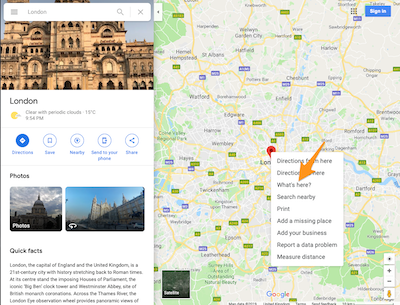
- A small section will appear at the bottom of the screen with both the Latitude and Longitude values that we will need to enter into our map.

- Select and Copy these values and then head back to the CMS > Settings > Google Maps Settings.
- We now need to paste in these values we got from Google Maps into the Latitude and Longitude fields.
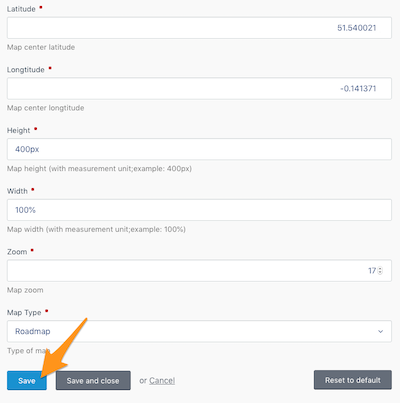
- With the new values pasted in from Google Maps, hit 'Save' which is located at the bottom.
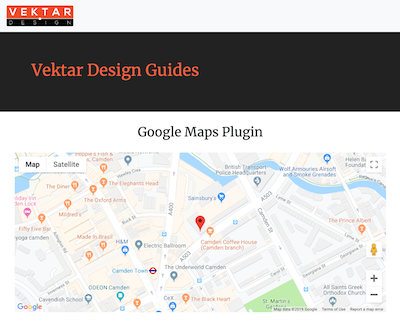
- Now check the map on your website to make sure it looks okay!
- That's it! Anytime you would like to change it, just follow this guide again!
Posted on Jun 14, 2019